Getting Started with Git/GitHub
March 27, 2021

Julia

Ella

Zaid (Nico)
Prerequisites
To use Git, you'll need to download it here.
Be sure to set your username and email before making contributions. In your terminal, do the following:
git config --global user.name "Your Name"git config --global user.email "youremail@yourdomain.com"
Fork
First, we will need our own copy of the repository to make changes on. You will need to create a fork by
clicking on the Fork button in the top right.
Clone
Next, we'll want to get a copy of our repository on our computer locally by cloning our repository. We will need the HTTPS address on the repository page which you can copy/paste from the browser. We will now use our terminal's shell commands to move to the place where we want to put our directory copy.
For example, if we wanted to change to our Documents directory, we would do the following: cd Documents
To clone our repository, we use the following command in our terminal:
git clone <https address here> [cloned-directory-name]
For example: git clone https://github.com/your-username/open.git fiveable-open
Again, this will create a local copy of the repository at the directory specified earlier. You will then need to open these files in your preferred text editor to make your changes.
Checkout
It is highly recommended to switch to a new branch to make changes instead of committing to the main branch. Why? Say you commit to the main branch of your fork. You go ahead and make a PR, but oh no! Your PR was denied and was closed. You now have a problem, your main branch now has a bunch of commits that don't exist on the upstream repo. Your fork is now out of sync with the upstream repo. You could just revert those commits, but now you have a bunch of revert commits polluting your commit history, and those will be added to the upstream repo if you make another PR. Or you could rebase and remove history (which would a require a force push which we do NOT allow on this repo). Both of these options are not very good and will only cause hassle to the maintainers and to the contributor themselves.
Sounds like a lot right? It's better to prevent all of this from happening in the beginning by just making
changes to a new branch every time. So, say I want to add a bunch of badges to the readme, I'd make a branch
chore/readme-branch or chore/patch-1.
To create a new branch from your terminal, do the following:
git branch <branchname>to create a new branchgit checkout <branchname>to switch to your branch
Pull
You will need to use git pull to fetch the latest changes from another repository or local branch. When you
run git pull in your terminal, remote content will be downloaded and immediately change the local state of
your repository to match the new content. It is strongly recommended to not git pull when you have
uncommitted changes.
In the event that you do have uncommitted changes and want to git pull, you will need to do the following in
your command line. First, git stash which "stashes" your changes away temporarily. Then, git pull to fetch
the latest changes. Next, git stash apply to apply the changes back onto your local copy, and then
git stash drop to remove those changes from the stash stack.
Commit
After making your changes, you will use terminal commands to commit them. Our commit message needs to explain what we've done. This message may be useful if we want to check our change history in the future, and it can also be useful to other contributors.
The syntax for a commit message is as follows git commit -m "your commit message here".
For our repository, please ensure your commit messages follow this standard.
Push
The next step is relatively simple; now that we've committed our changes, all we have to do is push our changes to the repository on GitHub.
To push our changes, all we have to do is enter the following into the terminal git push.
Pull Request
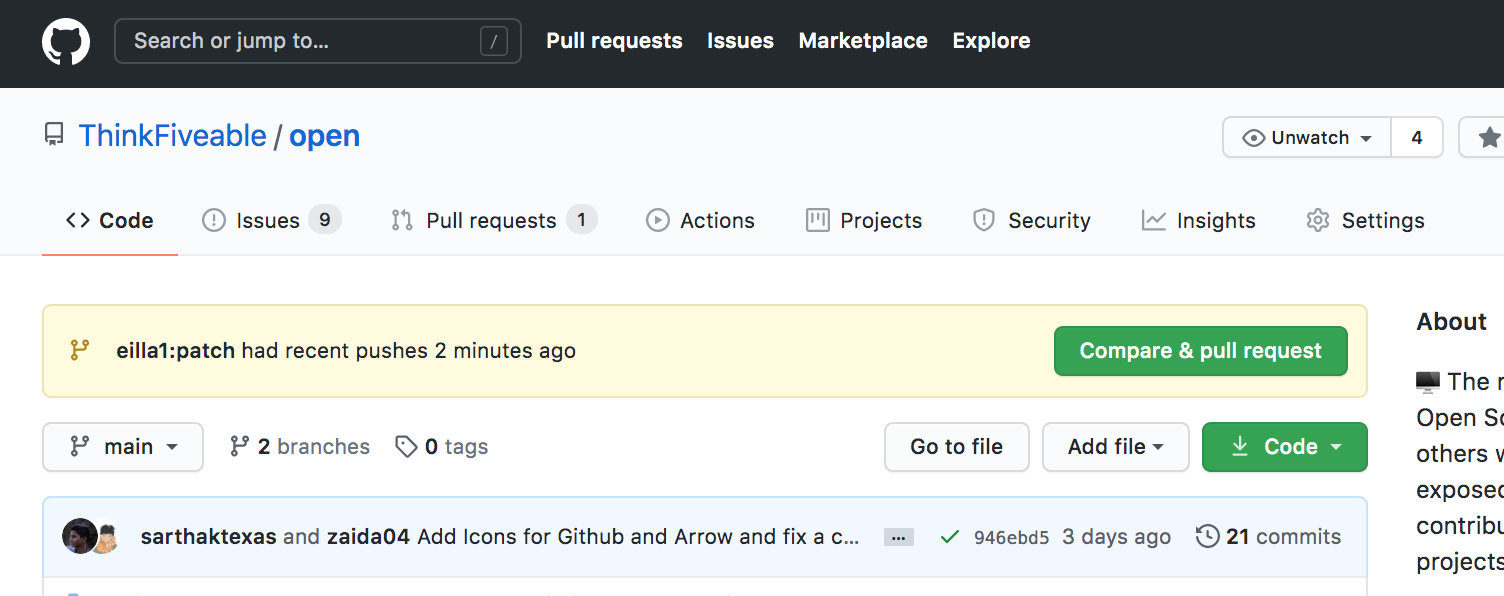
To submit your new changes to the original project, you will need to create a pull request. Head back to your
fork on GitHub, and you should be presented with a green button that says Compare & pull request.
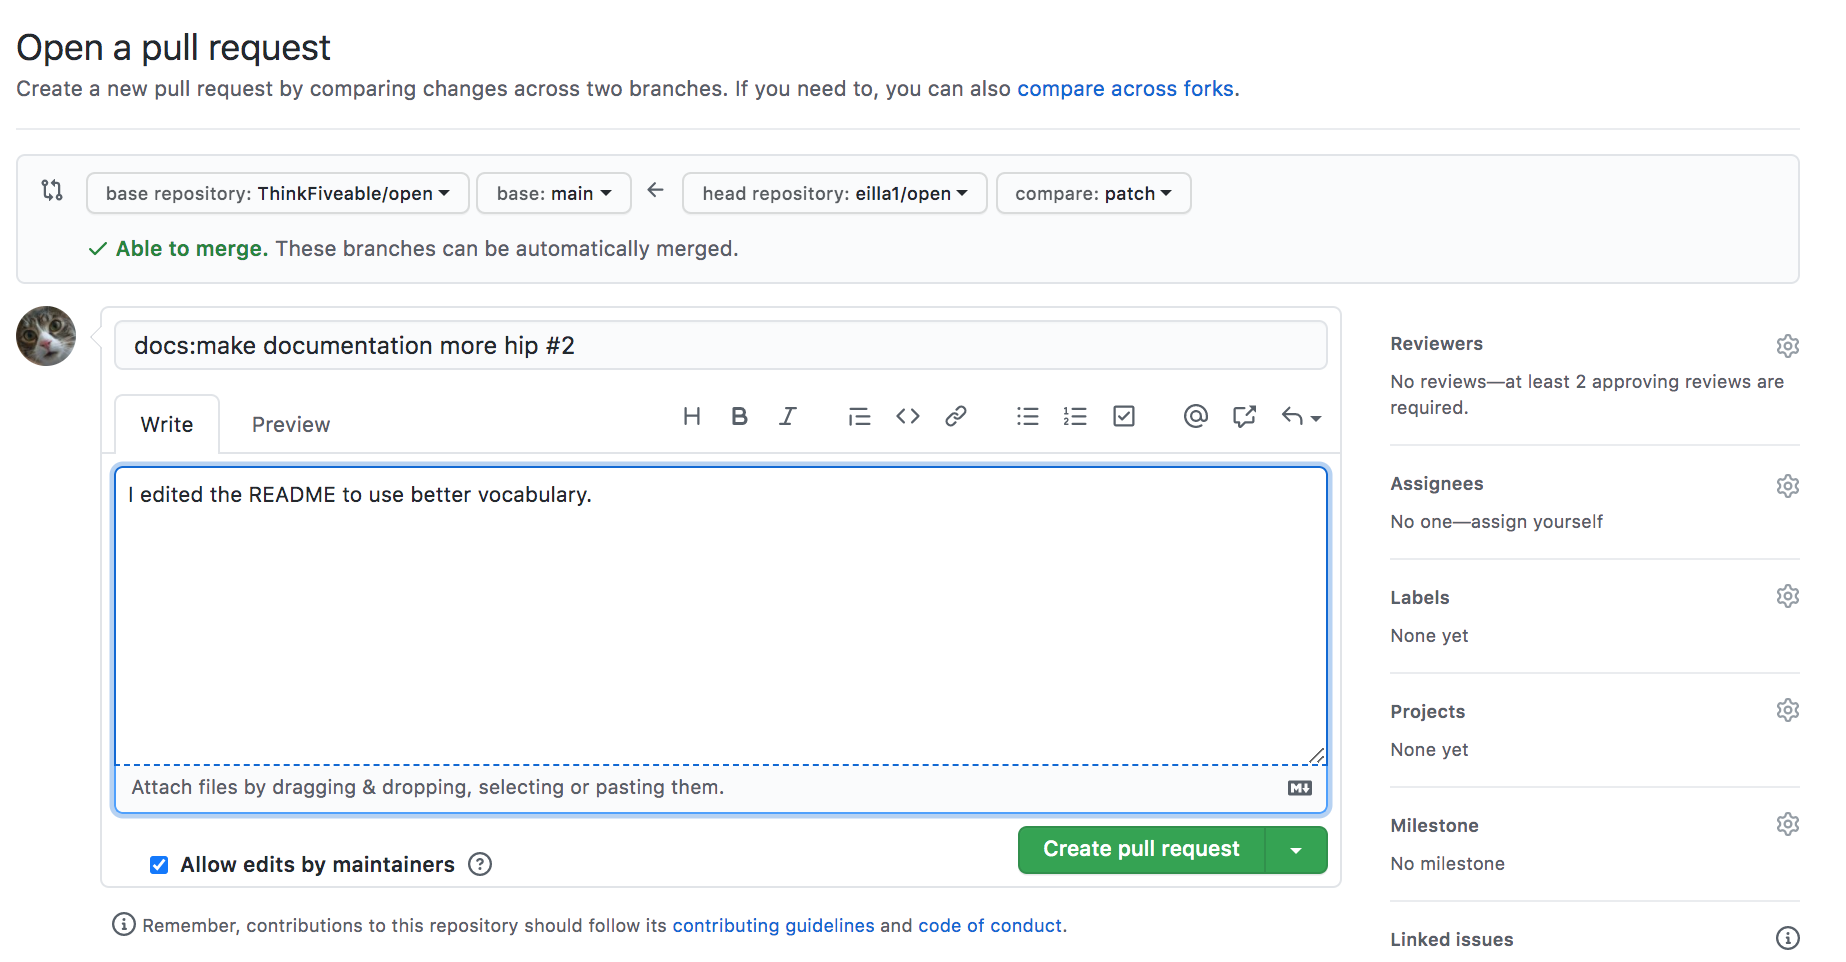
If you click that button, you will be asked to give your pull reqest a name and description. Please write a
description that accurately reflects what you were trying to do. When you hit the Create pull request button
on the screen, a maintainer of the project will be notified to review the suggested changes.
As your PR waits to be merged, other peoples' PRs might be merged before yours, meaning you have to "update your branch" with the master branch. You can do it with either this button

or (the more preferred method as the above button won't always be avaliable), you can do these steps:
- Add our repository as a remote URL (
git remote add upstream https://github.com/ThinkFiveable/open.git) - Make sure you are on the branch you want to merge master into (
git checkout PR_BRANCH_NAME) - Make sure you have the latest upstream changes (
git fetch upstream) - Merge the upstream master branch into your PR branch (
git merge upstream/main). At this stage you might run into what are called MERGE CONFLICTS. You must resolve these before pushing to your fork. See: Merge Conflicts - Push your changes to your fork (
git push)
Merge Conflicts
Sometimes you might encounter a message saying that there are "merge conflicts" that must be resolved before merging. This happens when multiple people make different changes to the same line of the same file in the repository. This tutorial will go over resolving merge conflicts using GitHub's web interface.
Near the bottom of your pull request, click the grey button Resolve conflicts. Delete the conflict markers
<<<<<<<, =======, >>>>>>>, and make changes appropriately. Once you have resolved all conflicts, click
the green button Commit merge.
